

Hello fellow crocheters, welcome to The Restful Stitch. Today you are going to learn how to crochet a granny square! There are many granny square designs out there. This tutorial covers the basic granny square (which even has some slight variations). I’ll show you how I do it and you might find someone who does it another way and that’s ok. Crocheting is an art and each artist creates uniquely.
Who doesn’t love a granny square? They are timeless, beginner friendly and endlessly versatile. There are so many things you can do with these simple squares. Garments, blankets, shawls, coasters and bags are just a few of the projects that you can incorporate this nostalgic stitch pattern into. Today, you are going to learn to make a basic granny square with step by step pics and clearly written instructions. If you are brand new to crocheting please check out my How To Crochet Tutorial.


To begin, with the first color, ch 4. Join to the first ch with a ss to form a loop.


Ss to the top of the first ch3. You should now have 4 groups of 3dc in the loop and 4 ch3 corners. If you are switching colors, fasten off yarn.

If you are using a new color attach it with a ss to any corner. If you are continuing with the same color, ss into each of the next 2 dc and into the corner.


Ss to the top of the first ch3. You should now have 8 groups of 3dc, 4 ch1 sp and 4 ch3 corners. If you are switching colors, fasten off yarn.

If you are using a new color attach it with a ss to any corner. If you are continuing with the same color, ss into each of the next 2 dc and into the corner.


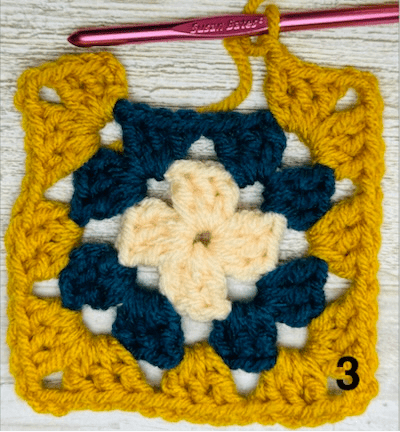
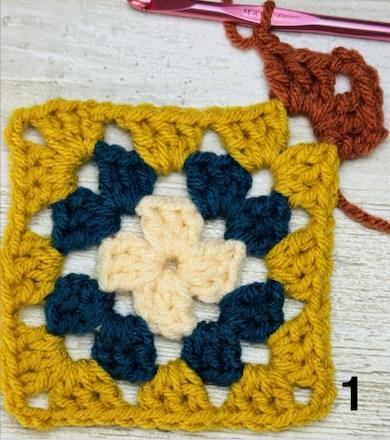
Ss to the top of the first ch3. You should now have 12 groups of 3dc, 8 ch1 sp, and 4 ch3 corners. If you are switching colors, fasten off yarn.

If you are using a new color attach it with a ss to any corner. If you are continuing with the same color, ss into each of the next 2 dc and into the corner.


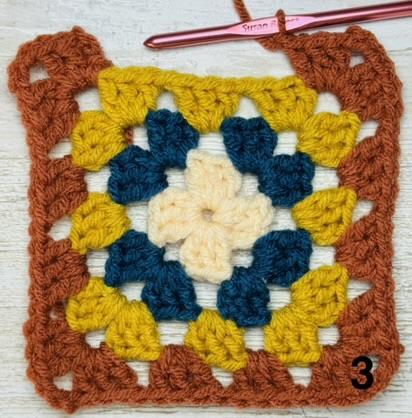

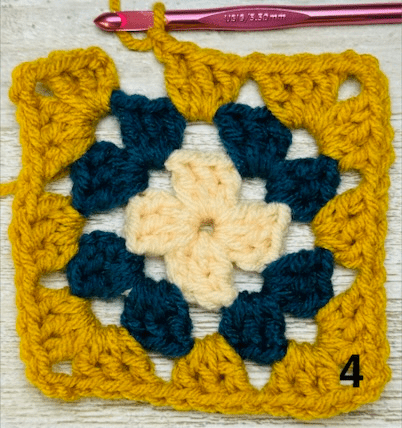
Ss to the top of the first ch3. You should now have 16 groups of 3dc, 8 ch1 sp, and 4 ch3 corners. Fasten off yarn.
Your basic granny square is done! I’d love to see what colors you chose and what you create with it. Leave a comment below and find The Restful Stitch on Facebook and Instagram!

My name is Heather and I have been crocheting for over 20 years and making up my own patterns for almost as long. As a home school mother, heavily influenced by Charlotte Mason, I have a passion for mother culture – that is the continued self education of mothers. Through learning useful skills, creating art and reading great literature, all who so desire can continue to grow in wisdom and virtue. I believe that for mothers this is especially important as an example to our children and for the nourishing of our souls.
Through these free crochet tutorials and free crochet patterns I hope to share the joy and rest that I find in this art. In this space I pray to form a community of like minded woman, who are inspired to live up to their potential as whole people formed in the image of a wise, creative and good God.
-Heather
Subscribe to get the latest posts sent to your email.

